Android introduced a new feature, App Shortcut in Android 7.1 (API level 25), and are available to any apps that target that API level.
 {:class="blogimg"}
App shortcuts can be displayed by long press on the application icon, and touching on each item will start a series of actions defined by the application itself (like the context menu in desktop). Each of the app shortcuts can also be dragged and dropped as an independent icon at the home page, for easier access (like a desktop shortcut with command-line arguments)
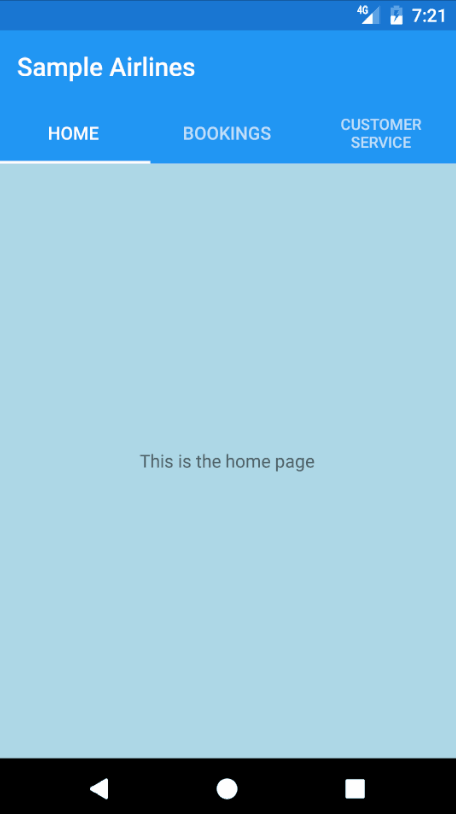
Imagine we want to build an app for an airline, the user of the app may want to access these item fast and frequently:
- Check flight bookings
- Reach out for customer service
- Get the flight status for the upcoming flight
These are great candidates for App Shortcut. So let’s see how can we implement this in a Xamarin.Forms application.
Create a shortcut resources file
Create a xml folders and placed it in you Android > Resources folder, and create the following file:
<script src="https://gist.github.com/xyfoo/0ac6d8f0e8a9df690cb5170e0e2f5702.js">shortcuts.xml defines the list of static shortcuts for your application, and are available from the time the app is installed. A list of intents can be attached to each shortcut, but the user will only see the last intent on the list. For now we only need one intent.
The attributes in the shortcuts are pretty self-explanatory, but there are a few things to take note:
- Labels (e.g. android:shortcutShortLabel) cannot be directly assigned with a string, but instead will need to defer to Android project’s
resources/xml/strings.xml
- The intend of each shortcut are pointing back to our MainActivity, but how do we differentiate one action from the other? We use the android:data attribute for that purpose: content://actions/bookings & content://actions/customerservice. More on that later
- It’s best to use an icon that conform to the app shortcut design guideline.
Associate the shortcut resource file to MainActivity
Add a MetaData attribute to the MainActivity class
<script src="https://gist.github.com/xyfoo/03ea6f66a56a45fa10c020749ccab17a.js">Matching up MainActivity’s name & shortcut intent’s targetClass
By default, Xamarin.Android will generate a name for each declared Activity class that’s prepend with a hash value. This is inconvenience for us as we could not easily know the generated activity name without examining the final generate AndroidManifest.xml.
To overwrite this behavior, you can specify the activity name explicitly:
<script src="https://gist.github.com/xyfoo/a7e65d5704c3a8bfd7e5be356eb4b56c.js">Make sure the targetClass in the shortcut intent matched up with the specified activity name.
At this stage, you should be able to build and deploy, and this is what you will see if you long press on the application icon
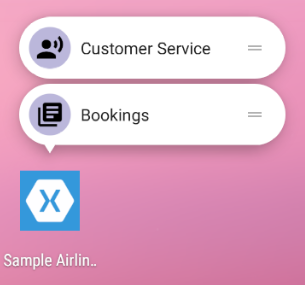 {:class="blogimg"}
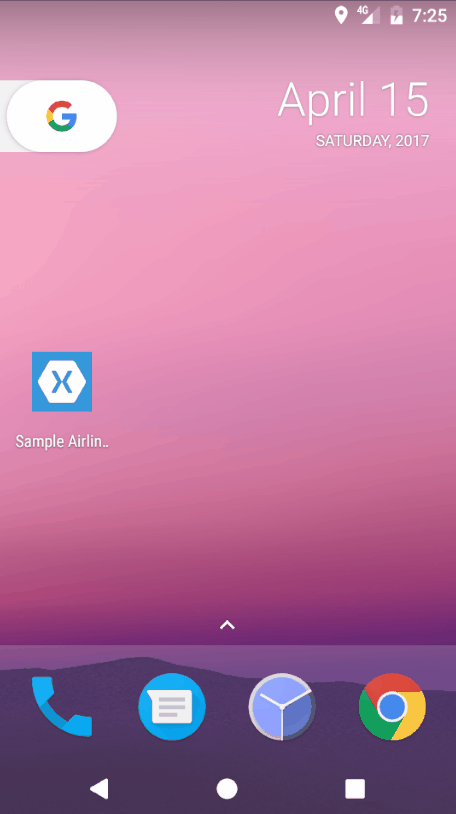
But if you click on it, it would just open the application and do nothing more.
 {:class="blogimg"}
Let’s add some action to the shortcuts so we could directly access the pages.
Capture the intent’s data and pass it on
In the MainActivity.cs OnCreate method, capture the intent’s data (as specified in the shortcuts.xml). For this example, we only want the last segment of the Uri path.
<script src="https://gist.github.com/xyfoo/4c2994ffb0837dccd4c507dbca9f164d.js">And update our XF’s Application class to accept the data
<script src="https://gist.github.com/xyfoo/59998ef2a09774f98f106225f6e43f2c.js">The default launch will not contains any intent data. So if we have any intent data on Application class initialization, we presume that it’s invoked from the App Shortcut, and we should do something with it.
We’ll go with using MessagingCenter to fire a message to subscriber for the sake of simplicity in this example. You can use any method that you like.
Do something with the captured data
So what we want to do is we want Customer Service tab to be shown on load up when CustomerService app shortcut is touched. To do that, subscribed to the messages that we would fire in the Application class:
<script src="https://gist.github.com/xyfoo/867b979d85605a90671dea16fe7dfe6b.js">Once we received the message, we just do tab switching based on the received data. And voila! You can now launch to a specific page from the App Shortcut.
 {:class="blogimg"}
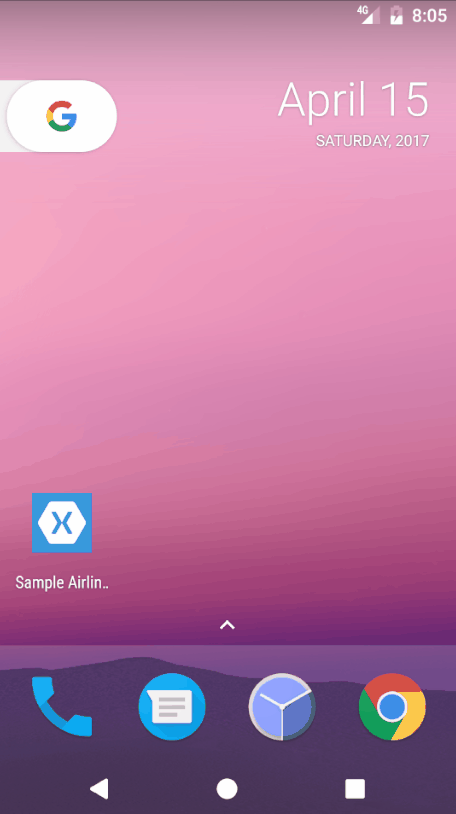
Bonus: Add a shortcut for upcoming flight
So let’s say you’ve booked a flight, and you want the quick access to the flgith status. And because we could not possibly know ahead of what’s the user’s upcoming flight at the app level, we could not declared it ahead of time in the shortcuts.xml
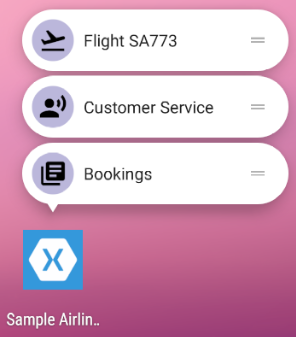 {:class="blogimg"}
To do that, we use Dynamic Shortcut. Dynamic shortcut allow you to add/modify the shortcut in runtime when you need it.
The ideal scenario to add the flight shortcut would be when the user has just purchased the flight ticket in-app, or when user manually add the flight as favourite. To simulate such scenario, we have two buttons in the booking page:
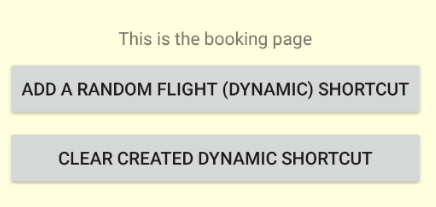 {:class="blogimg"}
and with their Clicked event handler as below:
<script src="https://gist.github.com/xyfoo/40e5dfc9ed683aa8c85cae9eab7d1766.js">Send some message with data and receive them in MainActivity.cs…
<script src="https://gist.github.com/xyfoo/c257645594010232c63b286534267d3a.js">With the code above, you can now add a dynamic shortcut, and you can clear it out easily at run time. But that’s not it, you still need to handle the newly created dynamic shortcut invocation.
So let’s go back to MainPage.xaml.cs
<script src="https://gist.github.com/xyfoo/48cb73a3c637e1526df4d67292d65b8a.js">When we received the data from the App Shortcut’s intent, we extract the flight number, store it in a variable, and then display it when the MainPage is appeared on device screen.
And that’s it!
 {:class="blogimg"}
The full source code for this sample can be found at my github repo